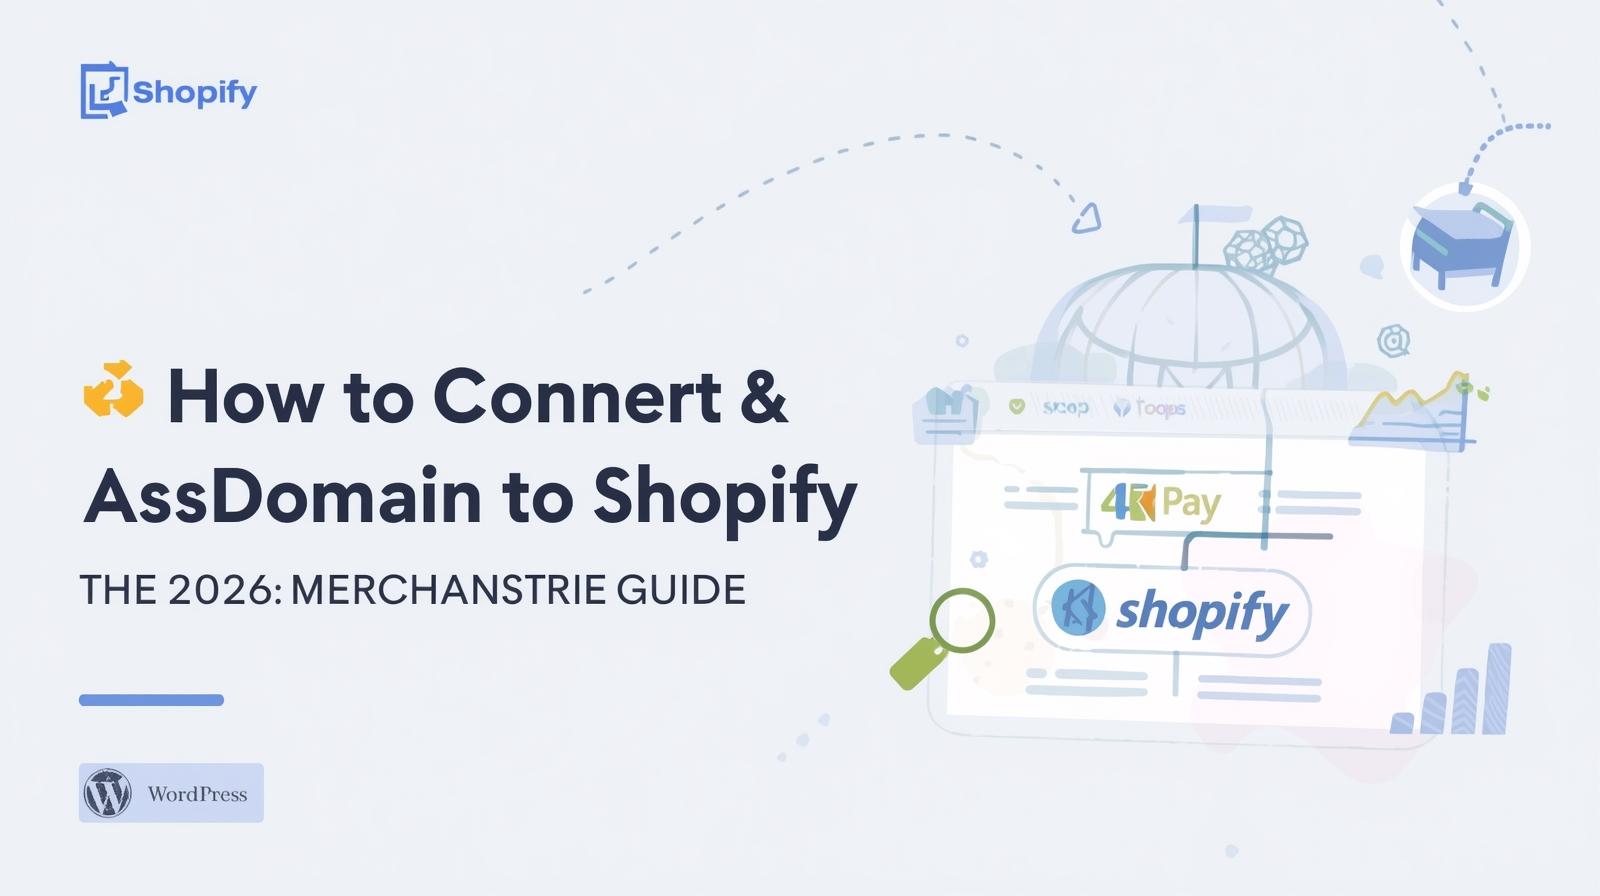
In the competitive landscape of UK e-commerce, your domain name is more than just a web address; it is your digital storefront’s signage. While Shopify provides a default your-store.myshopify.com URL, it lacks the professional “heft” required to build trust with British shoppers. To rank on Google.co.uk and build a lasting brand, a custom domain—typically a .com or a .co.uk—is essential.
At ecomdeveloper.org, we see many beginners struggle with the technical handshake between their domain provider and Shopify. In this guide, we will walk you through exactly how to connect your custom domain, explaining the nuances of UK-specific extensions and DNS settings.
1. Why a Custom Domain Matters for UK SEO
Before we dive into the “how,” let’s look at the “why” through a UK lens.
- Localization: If you primarily serve customers in London, Manchester, or Edinburgh, a
.co.ukdomain signals to both customers and search engines that you are a local business. This can improve your visibility in local search results. - Brand Authority: Customers are hesitant to enter credit card details on a “myshopify.com” URL. A custom domain like
www.artisanbakes.co.ukprovides instant legitimacy. - Email Professionalism: A custom domain allows you to have professional email addresses (e.g.,
info@artisanbakes.co.uk) rather than a generic Gmail or Outlook address.
2. Choosing the Right UK Extension
In the UK, you generally have two main choices:
- .com: The global standard. Best if you plan to scale internationally (e.g., selling to the US or Europe).
- .co.uk: The trusted British classic. It is often cheaper and highly effective for domestic-only stores.
- .uk: The shorter, modern alternative to .co.uk. It’s snappy and mobile-friendly but carries slightly less “legacy” trust than the .co.uk.
3. Option A: Buying a Domain Directly Through Shopify
If you haven’t bought a domain yet, this is the easiest path. It eliminates the need for manual DNS configuration.
Steps:
- Log in to your Shopify Admin and go to Settings > Domains.
- Click Buy new domain.
- Enter the name you want. Shopify will show you the prices for
.com,.co.uk, and others. - Follow the purchase instructions.
- Important: Check your email for a verification link. If you don’t verify your email within 14 days, your domain may be suspended.
Pros: Automatic setup; one single bill for hosting and domain. Cons: Often slightly more expensive than third-party registrars.
4. Option B: Connecting a Third-Party Domain (GoDaddy, Namecheap, 123 Reg)
If you already own a domain through a UK provider like 123 Reg, IONOS, or a global provider like GoDaddy, you need to “point” it to Shopify.
Step 1: Add the domain to Shopify
- In Shopify, go to Settings > Domains.
- Click Connect existing domain.
- Enter your domain (e.g.,
ecomdeveloper.co.uk) and click Next.
Step 2: Configure DNS Settings (The Technical Bit)
You now need to log in to your domain provider’s dashboard (e.g., GoDaddy or 123 Reg) and edit the DNS Records. You are looking for two specific records:
1. The A Record (Points to Shopify’s IP)
- Host/Name:
@ - Type:
A - Value/Points to:
23.227.38.65
2. The CNAME Record (Points to Shopify’s URL)
- Host/Name:
www - Type:
CNAME - Value/Points to:
shops.myshopify.com
Guru Tip: Ensure you only have one A Record. If there are other IP addresses listed under the “@” host, delete them, or your domain won’t connect properly.
5. The “Verify Connection” Phase
Once you’ve saved the settings in your domain provider’s dashboard, go back to Shopify and click Verify Connection.
- Propagation Time: DNS changes don’t happen instantly. While it often takes minutes, it can take up to 48 hours for the “handshake” to complete across the global internet.
- SSL Pending: You might see a “SSL Pending” message next to your domain. This is normal. Shopify is generating a free security certificate for you. This usually resolves within a few hours.
6. Setting Your Primary Domain
Once connected, you may have multiple versions of your URL (the myshopify version, the .com, and the www version).
- In Settings > Domains, look at your list of domains.
- Click the custom domain you just added.
- Click Change domain type and select Primary domain.
- Ensure Domain Redirects are enabled. This ensures that if someone types
yourbrand.co.uk(without the www), they are automatically sent to the correct version.
7. UK-Specific Considerations: Transferring a .co.uk Domain
If you want to move your .co.uk domain entirely into Shopify (so you pay Shopify instead of your old provider), the process is slightly different for UK domains due to IPS Tags.
- To transfer a
.co.ukdomain, you must ask your current registrar to change the IPS Tag toSHOPIFY. - Unlike
.comdomains that use “Auth Codes,” UK domains rely on this tag system managed by Nominet (the UK domain registry).
8. Troubleshooting Common Issues
“Your domain is already connected to another Shopify store”
This happens if you bought a second-hand domain or had a previous trial. You will need to contact Shopify Support with proof of ownership (a screenshot of your registrar dashboard) to have them “manually unbind” the domain from the old store.
“Mail is not working”
If you change your DNS settings to point to Shopify, you must be careful not to delete your MX Records. MX records control your email. If you use Google Workspace or Microsoft 365, ensure those records remain untouched in your DNS settings.
9. Conclusion: The Final Polish
Connecting your domain is the moment your project becomes a professional business. For UK sellers, having that .co.uk or .com correctly mapped is the first step in winning customer confidence.
At ecomdeveloper.org, we know that technical hurdles can slow down your momentum. If you’ve followed these steps and your domain still isn’t showing the green “Connected” status after 48 hours, it’s time to look at your DNS records one more time for any stray entries.
Next Step: Now that your domain is live, is your checkout ready for British pounds? Check out our guide on “Setting up Shopify Payments for UK Merchants” to ensure your financial backend is as professional as your URL.